Showing posts with label silhouette cameo. Show all posts

Friday, October 4, 2013

Heart Canvas

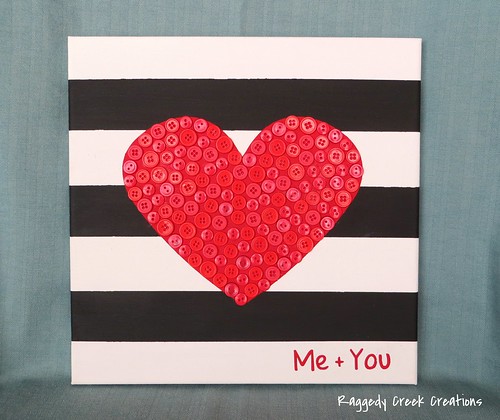
I saw a post from Southern Lovely a while back that spark some interest in my lull in crafting.  I made something very similar to hers.  I believe she used burlap behind her buttons instead of paint.  


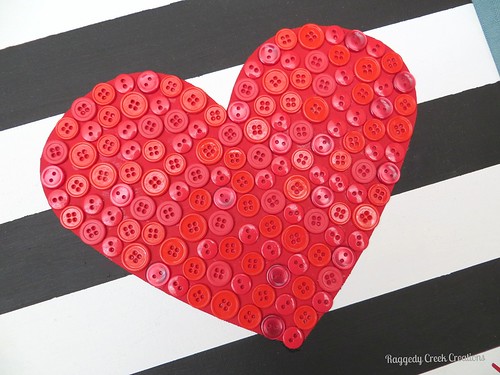
 I bought 14 x 14 canvas and evenly spaced out ~ 2 inch strips of contact paper and applied black paint in between each strip.  Once that dried I laid a heart stencil out of contact paper on the center of the canvas.  I applied 3 or 4 coats of red paint and let it dry.

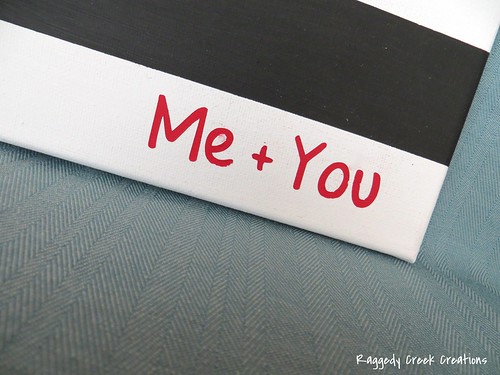
Me   You Canvas

I made another stencil using "Set Fire to Rain" font for the Me + You section.


 And the most meticulous part of this project was gluing the buttons on one by one.  I bought a couple of packages of red buttons from Michaels for this project. 


Practically Functional Link Party
Elizabeth and Co.The Idea Room


Saturday, January 12, 2013

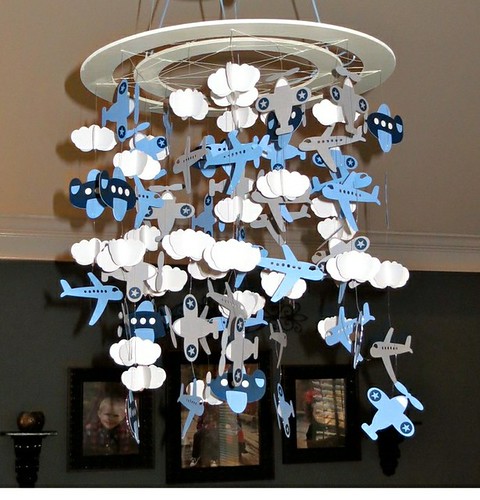
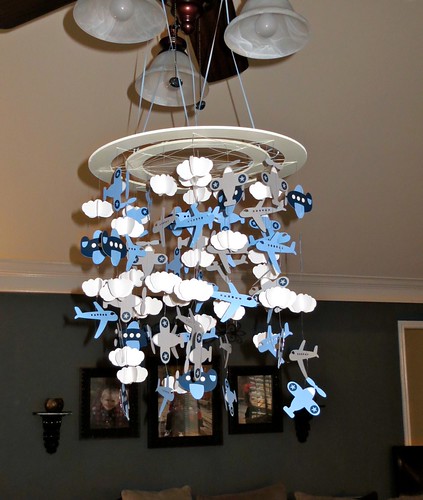
Airplane Baby Shower Mobile & Banner

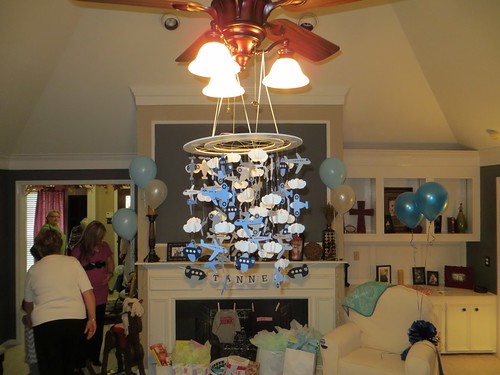
A couple months back, I was in charge of decorations for my sister-in-law's (and future nephew's!!) baby shower.  The theme was airplanes to match the nursery.  I put together a banner, mobile and some 3-D airplanes to decorate for the shower.  I had planned to take a lot more pictures throughout the process but the mobile ended up being WAY more involved than I expected!

Baby Shower Banner

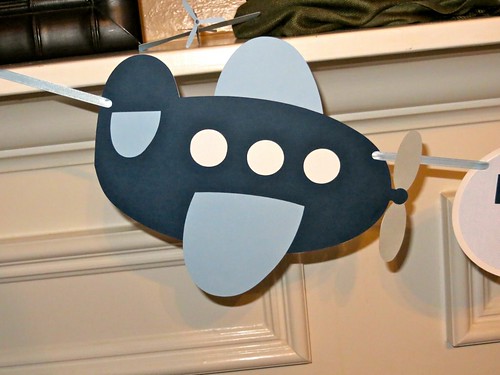
I created the banner and it's components using the "Trace function" in the Silhouette Design Studio.  The small 3-D airplanes on the mantel were from the Silhouette online store.


Baby Shower Banner

For this airplane I traced the outer edges of the design and created a white background 
piece that I could glue each separate piece to for stability.

Airplane Mobile


For the mobile, I continued the plane that was in the banner.  I also added a couple of additional airplane designs (one I made again with the trace function and the other from the silhouette store) along with a 3-D Cloud Design.

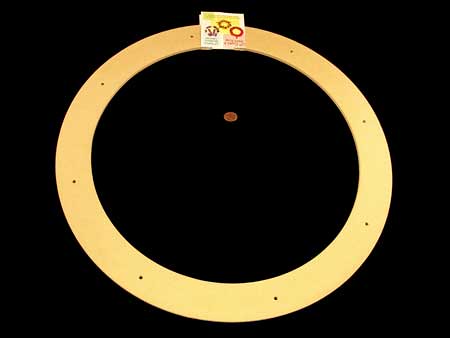
mdf floral ring

I hung my mobile using two different sizes (12" & 18") of MDF rings that I found in the floral department of Michaels.  I ran a light silver floral wire through the two rings to connect them and then spray painted the whole hanger in Ivory.

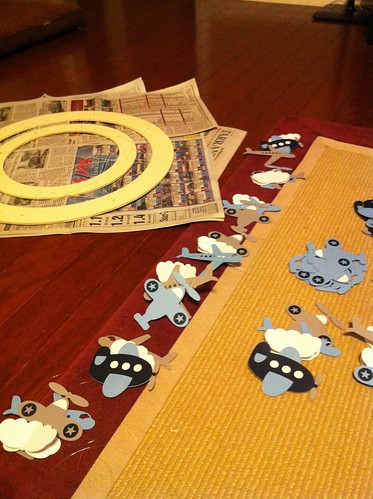
Building Airplane Mobile

Sorry for the poor photo quality.  It was after midnight the night before the shower and I realized that I hadn't taken any pictures of what I was doing.  Since I had my iPhone right next to me I snapped a quick photo.

  While the hanger was drying, I laid out my cut-outs in the order I wanted for hanging.  I did strings of 3, 4 and 5 items to give it a fuller look.  Using a large sewing needle, I strung the cut-outs with some old fishing line that my husband had laying around.  I then attached the line to the wire of the hanger.  It got to be one big tangled mess after I started to hang the lines, so I hung the mobile from my chandelier and that worked a lot better.  Once I connected all of the lines, I spaced the cut-outs to where I wanted them and tied a knot right below the last cut-out and trimmed off the remaining line.

Baby Shower


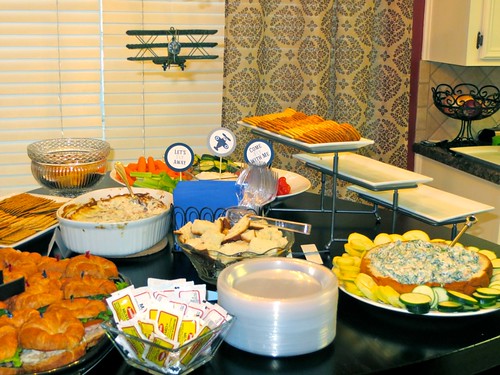
Food Table at Soney's Baby Shower

I also made a few food decorations using a 2.5" and 3" circular punch. 


MakingSew Chatty
My Uncommon Slice of Suburbia
The DIY Dreamer


mop it up mondays 
Making

52 Mantels  


Airplane Mobile

Saturday, December 8, 2012

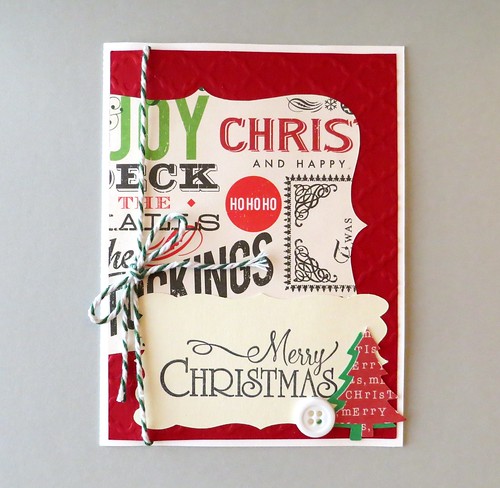
My Christmas Card

IMG_0314

Here's my Christmas Card that I made and that I am sending out this year!  
I made 50 of these ...I'm surprised that I'm done so early!


Tuesday, December 4, 2012

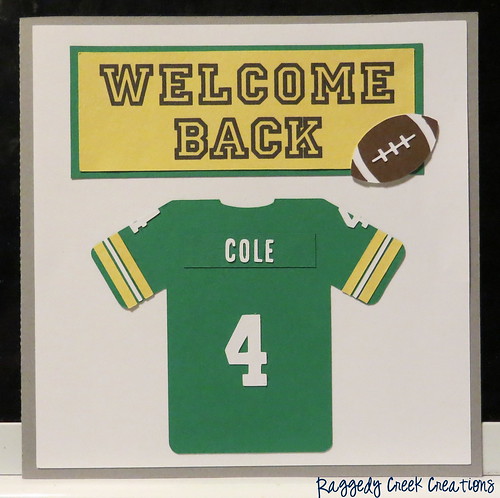
Welcome Back Card


Here's a card that I made recently.  We had a co-worker come back to work after leaving us for a few months.  We designated him the Brett Favre of the pharmacy so I made a card to go with the theme! :)

IMG_0152s

Thursday, September 6, 2012

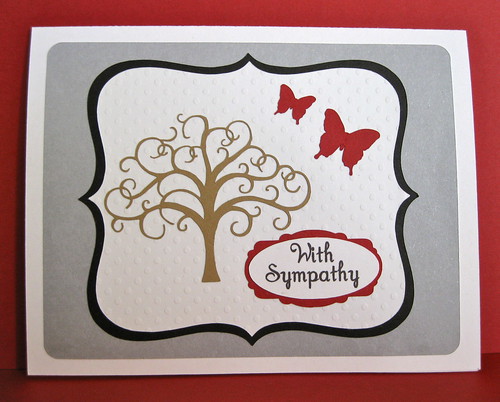
Sympathy Card

IMG_1269

I made this sympathy card recently.  
I used the scroll tree design for this card.  The Silhouette had a hard time cutting some 
of the curves on this tree.  I deleted those points on the design and was able to cut it 
without any problems.

IMG_1294

Monday, September 3, 2012

Random Wall Decor

I have been working on decorating my hallway wall over the last month or so.
Here are my finishing touches.

IMG_1408

This a $1 frame I picked up from Michaels a while back.
I painted it grey and added a vinyl design (corner flourish) using my Silhouette Cameo.
Like my scroll tree, the silhouette had a hard time cutting some of the
curves on this design.  I just sliced them off with an exacto knife and no one will
know the difference.  Unless they read my blog..... :)

I used www.wordle.net to create the places we have lived design.
It is a SUPER easy website to use.  You just type in the words you want and
it allows you to play with the text and background colors as well as layout.

IMG_1404

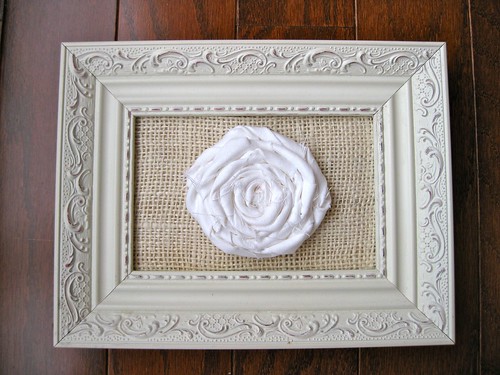
The back broke on this frame a while back, but I couldn't let it go.
This was nothing a little burlap and rosette couldn't fix!


IMG_1394

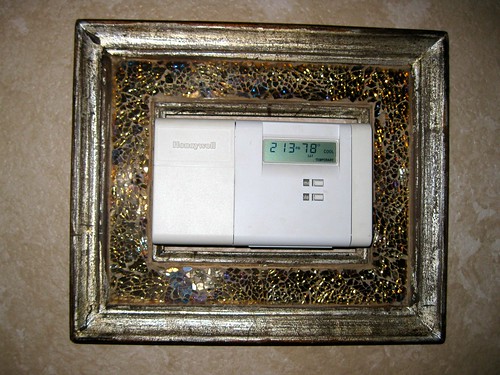
I needed something to frame in my gigantic, not so pretty thermostat.
Pier One had a frame sale this weekend so I couldn't resist buying this one!


The DIY DreamerPoofy CheeksMaiden D'Shade
 
mop it up mondaysThe Girl Creative