
I bought this French Dresser (made by Kent Coffey) back in October and have been trying all winter to finish it. Well, I finally did it!
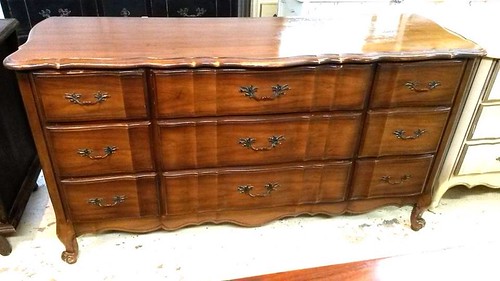
This is my first furniture re-stain project, so I'm sure it took me a little longer than most. My plan was to re-stain the top to match the existing end tables in our bedroom and paint the bottom color with Annie Sloan Chalk paint.
I think what took the longest was sanding… BIG shock, I know. I sanded the top with 80 grit sand paper using a black and decker mouse sander. Notice I didn't say it was my sander. I borrowed it from my mother and well… I just haven't given it back to her yet. Sorry Mom! :) Now that I have figured out that I enjoy re-finishing old furniture, I should go and buy my own.
What REALLY took the longest was figuring out how to sand the detail on the edges. It appeared to be made out of pine, which whittled away with any touch of power sanding. So in order to save the detail from being obliterated, I had to find something else to use. I tried hand sanding but that was taking too long. I found that using the wire brush attachment on my Dremel took off most of the stain. I just had to do a light follow up with 220 grit sand paper after the wire brush and I was finally done!!

I found a perfect blog article from Centsational Girl on how to restain. I went ahead and used pre-conditioner on the wood since I had pine on the edges.
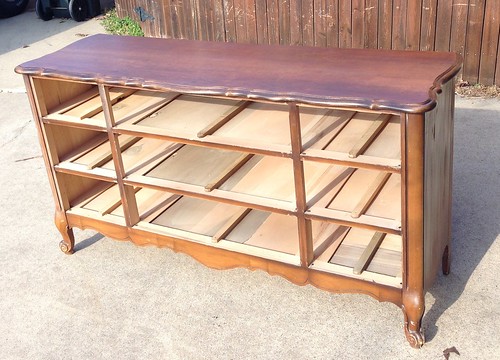
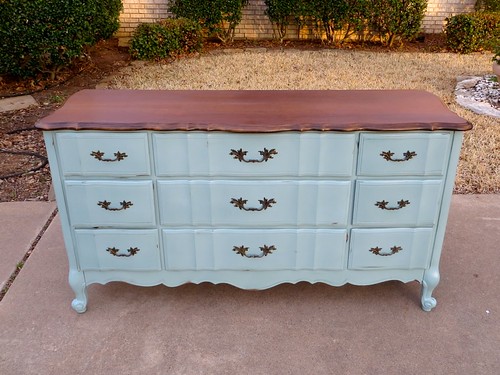
This picture is after Pre-stain conditioner, two coats of Minwax stain, and
two coats of Minwax polyurethane.
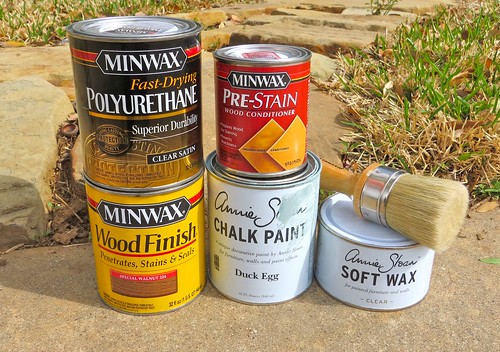
Here are all of the products that I used.
I then applied 2 coats of Annie Sloan's Duck Egg Blue Chalk Paint with my favorite Purdy brush. Annie Sloan Paints suggest using a natural bristle brush, which I did on a previous project. I saw where someone had used a synthetic brush with the chalk paint and had success, so I thought I would try out my Purdy XL brush for this project. I definitely preferred using the Purdy (synthetic) brush over the natural brush. The paint seemed to apply much easier, especially on the second coat. The clean up was a cinch with soap and water.
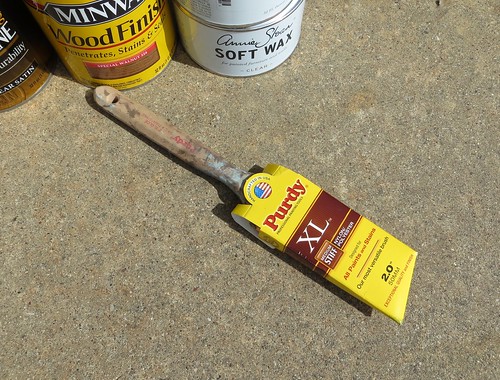
As you can tell by the handle, I have gotten plenty of use out of this brush and it still works great!! After my brush dries, I put it back in the original packaging to keep its original shape. If you haven't already invested in a nice paint brush, go ahead and do it! I've used this brush on lots of projects over the past few years and I plan on using it for many more.
Ok now I'm off my paint brush soap box….*breathe*
I have used lots of different paints in the past, but nothing like chalk paint. It is super easy to use and clean up after you're done, but you do need to know a few things before you start. I really recommend watching Simply Reinvented's video tutorials for applying chalk paint and wax. Check those videos out if you are unsure on how to apply Annie Sloan Chalk Paint and Wax.
Here is the final product!
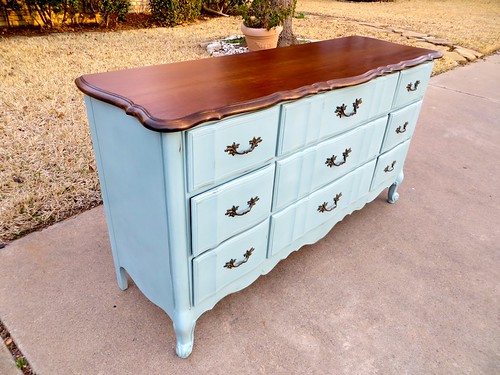

Since I had all of the handles and they were in good shape. I decided to keep them original.


