Monday, May 28, 2012

2012 Graduation Card

Here is another graduation card I put together using the graduate's school colors (crimson & gold).  
I started with Princetown LET font and developed a three layered card.

2012 Grad Card
Silhouette Cameo Studio Screen Shot

Graduation 2012 Card


Saturday, May 26, 2012

Graduation or Congratulations Card - Silhouette Cameo Tutorial

I needed a graduation card for a couple of people this year.  I ran across this card on Pinterest from Pattitudes Blog.  I just loved the format she used and I wanted to use this as my inspiration.

Create Your Own Journey
Graduation Card


Graduation/Congrats Card

This is the card I came up with.  
What I love most about this card, is the elegance that it carries!  
This card format can be used for graduations and weddings. 


I thought I would show you how I created the scalloped background for this card.
I wasn't able to find a design on the Silhouette shop that I was happy with.
So I sharpened my Silhouette Studio skills and made it work!

For the Tutorial:
I use multiple functions to create this background: duplicate, edit points, and weld.
 I tried to show a screenshot to illustrate these functions along the way.  


Congratulations or Graduation Card - DIY 
I wanted something with a couple of points on the bottom,
so I started with the 6-card_kit_elegant_C00394_20509 card design.


Edit Points/Weld Tutorial
Edit Points
In order to have straight sides for the background image, I used the "Edit Points"
function on the top left to delete the unnecessary points.


Edit Points/Weld Tutorial
By deleting the points I was able to create a straight line down the side.  Depending on the design selection you are using, you may have to use the "Make Flat" option under the "Selected Line" section to get the line to be straight instead of curve.


Edit Points/Weld Tutorial
Once you are done editing the points, use the "Duplicate Function."


Edit Points/Weld Tutorial
Weld
The welding function requires some sort of overlap in order to work.
I overlapped the two designs and used the top lines as my guide in making sure
they were in perfect alignment.  

It's always helpful to put part of your design directly on the grid lines so
that you know you have the two designs lined up perfectly.
You can zoom in and out too if you need to see it a
 little closer when checking your alignment.  


Edit/Weld
This is what my design looked like after the weld.
 I wanted my background to be five inches wide so I adjusted the image to that width.
In order to fix the height, I went back to the edit points function.


Edit Points/Weld Tutorial
I just took the top two corners and drug them to the height that I wanted.


Edit/Weld
And here is the finished scalloped background design.


Untitled

After you have the background made it's all downhill from here.  I used the scallop_border_LG_1236  design to create the ribbon border.  This border is only scalloped on one end so I used the weld function to create the double sided ribbon look.  There are designs that already look like my finished product on the Silhouette shop but I'm cheap and wanted to use something I already had.

Graduation/Congrats Card Inside option 2IMG_1049

I used a couple of different qoutes for the inside of the card.  I printed the inside quoutes from the Silhouette Studio and cut around it with the Silhouette using regestration marks.  I'll get a tutorial up soon on how to use that. 

I hope that this tutorial helps.  Once you are able to use these functions with the Silhouette Cameo studio, the sky is the limit.  I have been able to tweak just about any design to my liking and create some simple designs using these functions.


Wednesday, May 23, 2012

Garner State Park

My husband and I had a wedding shower to attend in the hill country, where he grew up.  So we decided to waste a little time in Garner State Park.  They had a small flood a few days before, so the Frio river was in a good condition to jump in!  If you are ever in the Leakey/Concan area stop by Garner or Lost Maples State Park, you won't be disappointed.  Here's a few pictures from Garner.

Baldie
Picture of "Old Baldy" from afar.  

IMG_1081

IMG_1088

IMG_1103

IMG_1078
IMG_1098

IMG_1092

IMG_1115


Tuesday, May 22, 2012

Mother's Day Card

With my second card I tried out one of Silhouette's Card Kits.  I used 14-card_kit_flower_pot_C00482_20509 .  It was super easy.  It looked like they suggested the use of a button for the center of the flowers.  Since I was going to have to mail these, I made a cut out to look like a button and inserted thread through the holes.

Mother's Day Card

Mothers Day Card Insert


Monday, May 21, 2012

My First Card Creation

I got a Silhouette Cameo for Christmas this year.  After sitting on it for a few months, afraid to dig in, I decided to give it a shot.  Our dog's frisbee just some how seems to end up in our neighbors back yard, specifically their pool.  Since they are so sweet and always toss it back over, I thought it was a perfect opportunity to create a thank you card.  


I wanted the card to be pretty personal so I started with a labrador retriever design.  I will note that I was not able to emulate the gigantic tongue this dog has (see photo above). 


I then added an eye, ear, mouth and collar using shapes, lines and the edit points function. 


A frisbee was created off of a circle using the edit point function to make it a little flatter.  I believe the bone is a design that came with the machine's software and I just added text on top of it.


There of course had to be a spot to insert a Starbucks card!  Using the "subtract" function under modify, the circle area is removed from the rectangle.


First project is complete!


Tuesday, May 1, 2012

About Me - First Post

Well, I decided to take a stab at blogging.  I thought I would start with a little bit about me.  I grew up on a farm in North/Western Texas.  So even though I live in the city now, I still carry many of those values.  I am now a pharmacist at a large hospital in Fort Worth.  That being said, I try to spend my free time utilizing my creative and artistic side (there may not be much there, but I use it none the less!) and let the analytical side take a rest.


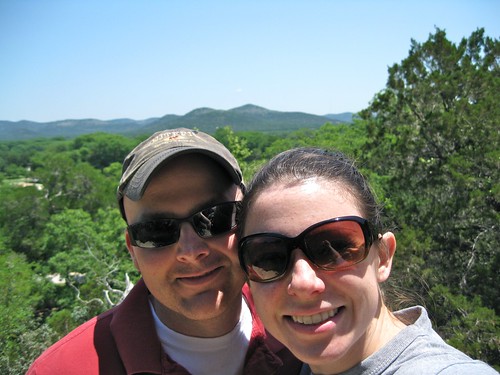
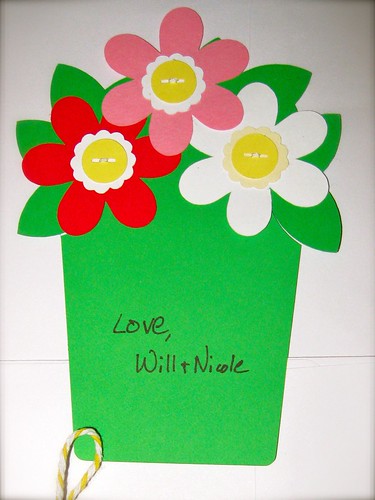
I have been married almost eight years to a wonderful man.  We have gone through quite a bit within our eight years and it has only made us stronger!  On year four of our marriage, after many months of pain and crazy symptoms, we found out Will has Wegener's Granulomatosis.  He had to endure so much at the time (Dialysis, side effects from high dose steroids, and low dose chemo),  but now his disease is in remission and most parts of his body have healed!   All we can do is praise the Lord for all the things he has given us and pray for many more years to come.


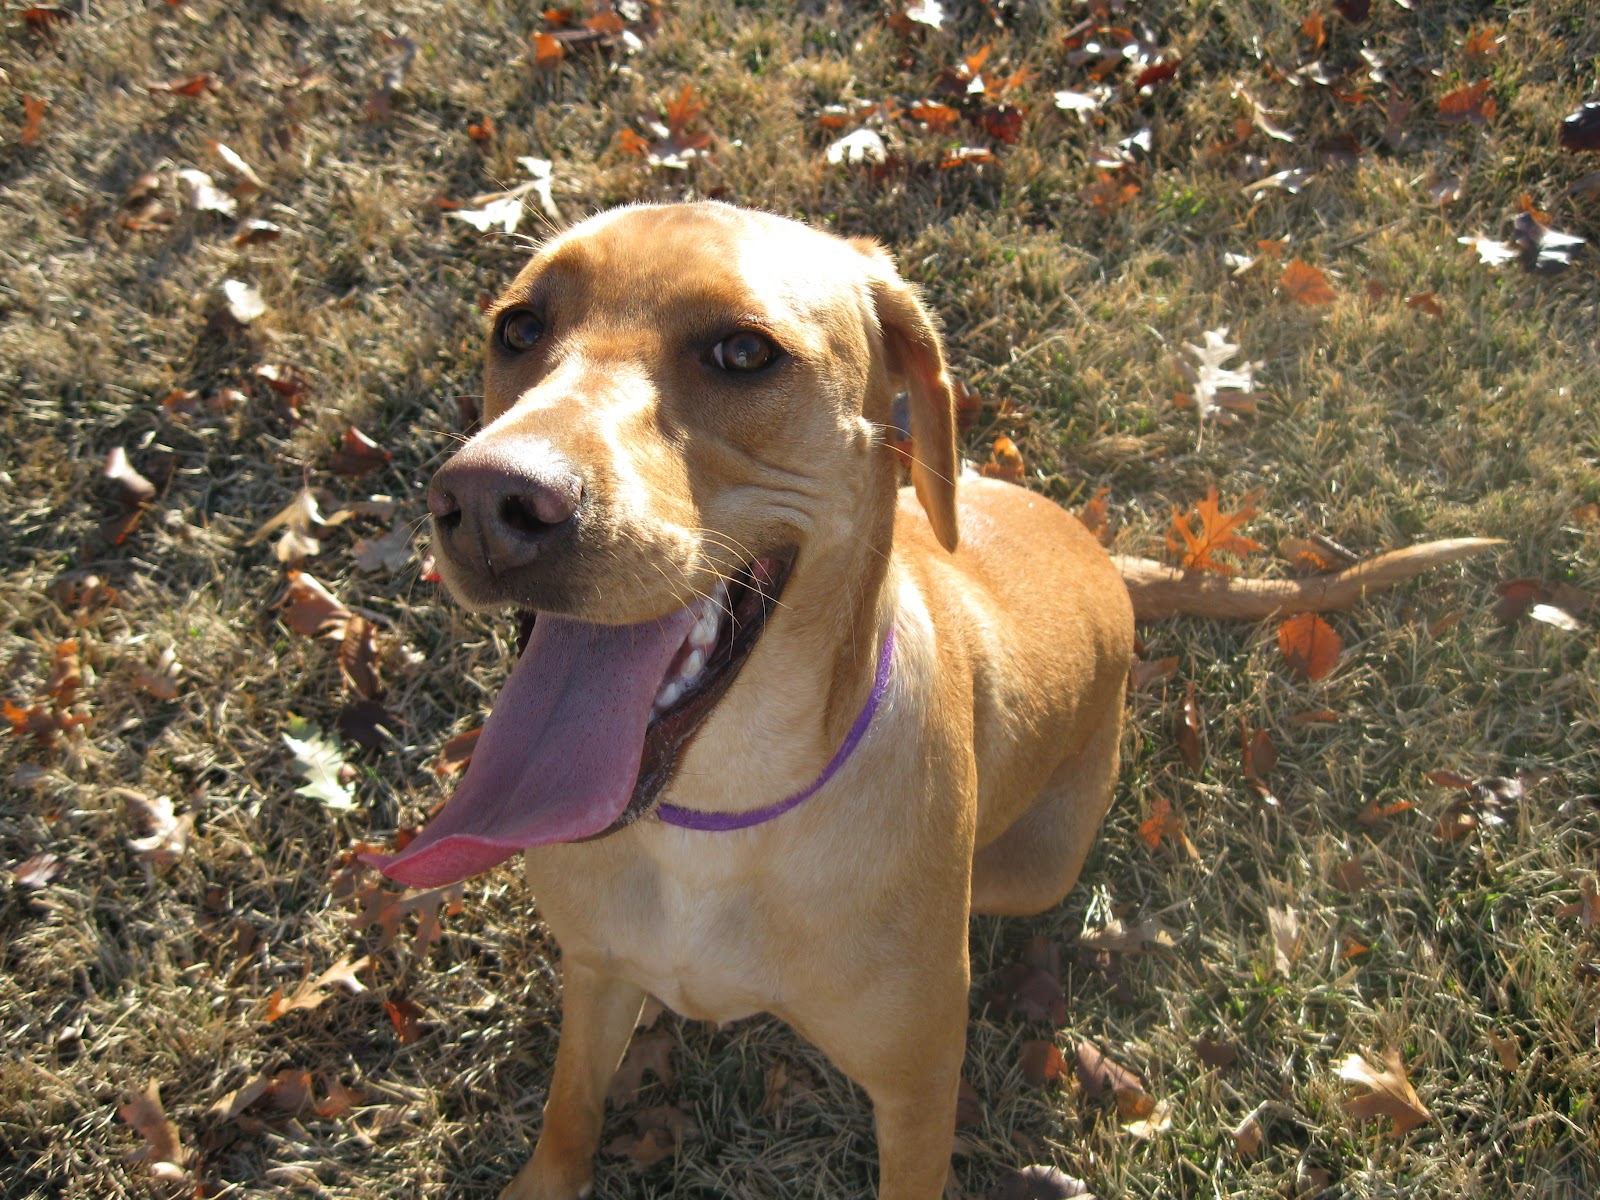
Our dog Sage, is our baby, and she is spoiled "to the core" rotten!


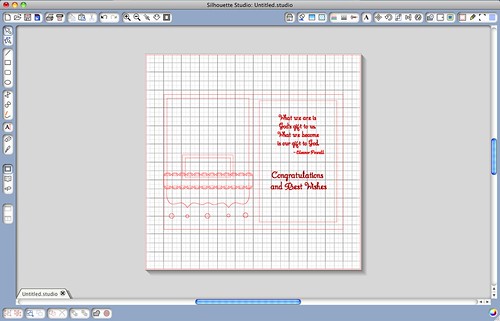
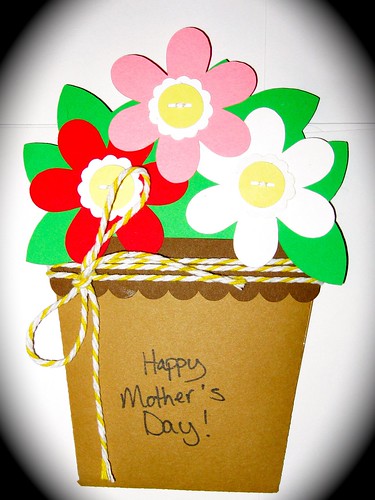
After playing with a few garden/herb plants here and there.  I decided to start an actual garden this year.  We'll see how that turns out and I'll post some pictures later.  Here are a few of the projects I have completed already.  For future projects, I hope to be able to post some tutorials with them. :)  I will warn you ahead of time...I don't have a SLR camera.  My primary camera is point and click(Canon Powershot A1000) and a few of these are taken with my iPhone.


Twine Balls using a balloon and fabric stiffner - Talk about messy!


Twine wrapped wooden letter & Christmas Burlap Wreath          


                             Bookshelf in Kitchen                My co-worker's coffee cup he left at work.
                                                                                It's a long story but this is one act
                                                                                             of my revenge :)
                                                

One of my closest friends had a baby right before Christmas.
I made him a little blanket to look like a stocking and a santa hat to go with it.
It's made out of burlap and I lined the inside of the blanket with a softer fabric 
so he didn't get to uncomfortable while the pictures were taken.
It was so cute!