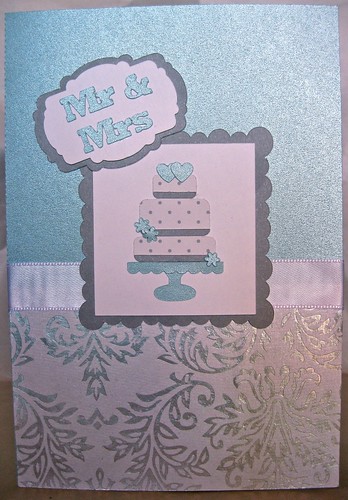
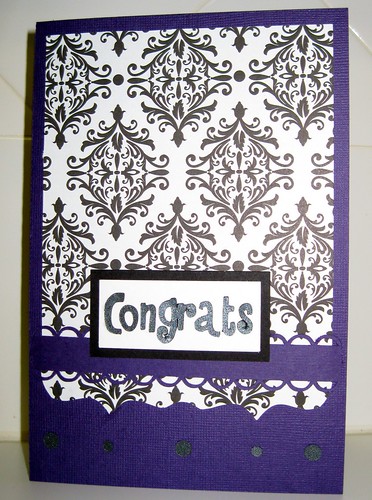
We had a wedding reception to attend for one of Will's close friends. I made this card to go with their gift. My blade for the Silhouette was fairly dull at this point (I might have tried to cut something I shouldn't have for a previous project.) so it took a few tries to cut the "Mr & Mrs" out without snagging too bad. However, the new blades have since come in from amazon and all is well now!
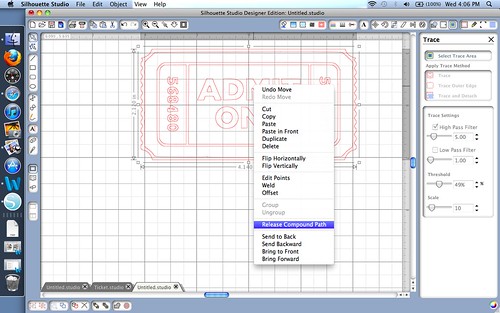
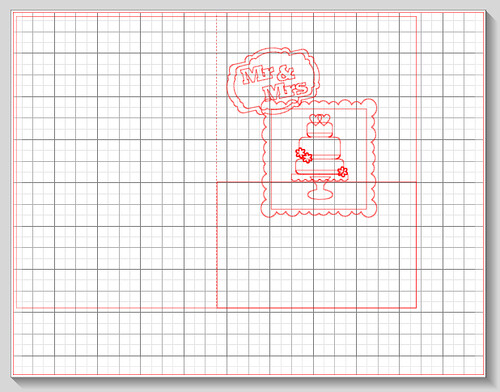
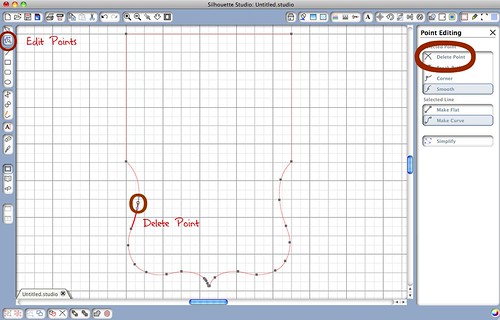
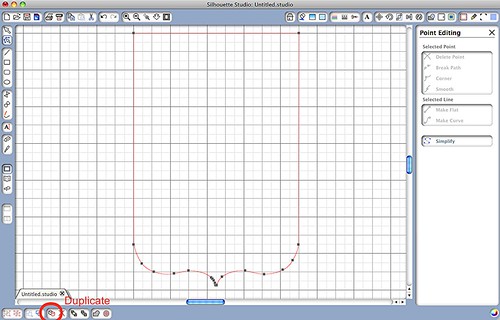
Here is a screen shot of my design in the Silhouette studio. I actually made this card a couple months ago and it was one of the first times I tried making a design in the Silhouette Studio. It took a little while to make but it was a great way to figure out several design functions of the studio!
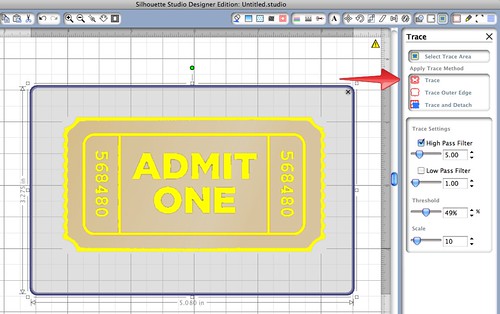
Print & Cut Tutorial
Here is a tutorial on how to use the print and cut function with the Silhouette Cameo.
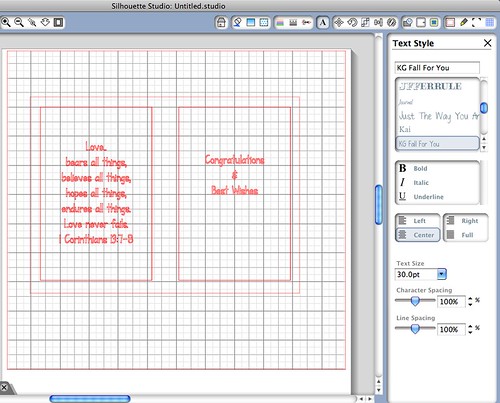
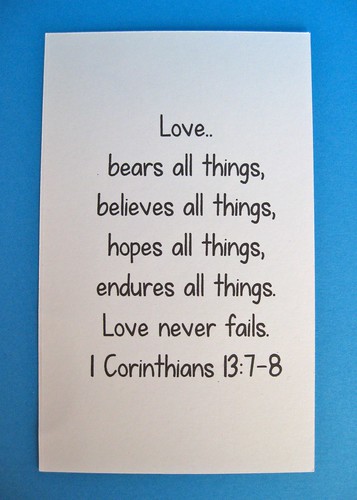
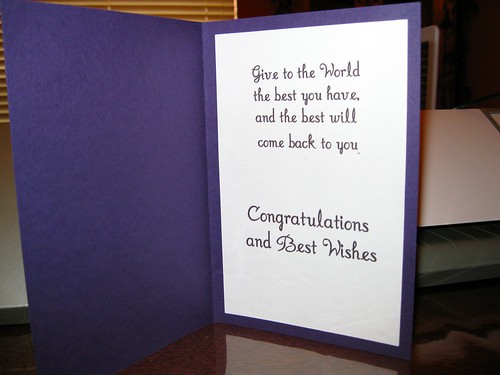
I'll use the inside of this card as an example.
I used the outline of the card as a guide on what size I wanted the inside boxes to be.
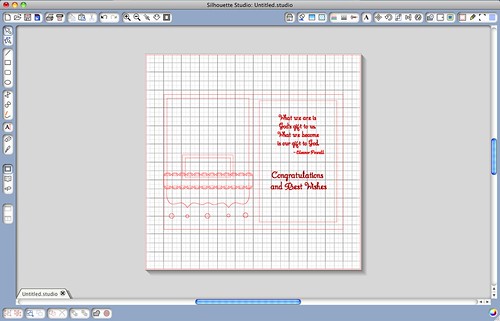
I picked the font and text size that I preferred.
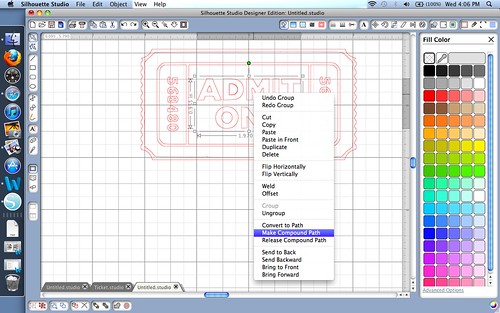
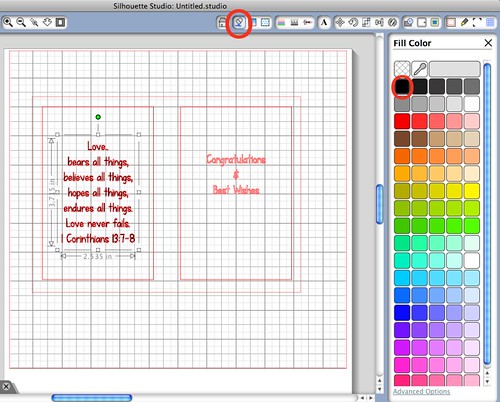
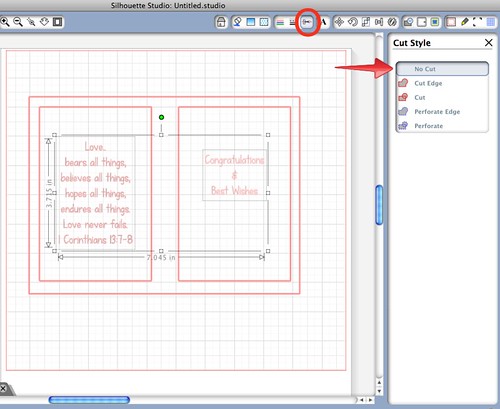
Using the "Fill Color" function, I added a black color fill for the print out of my text.
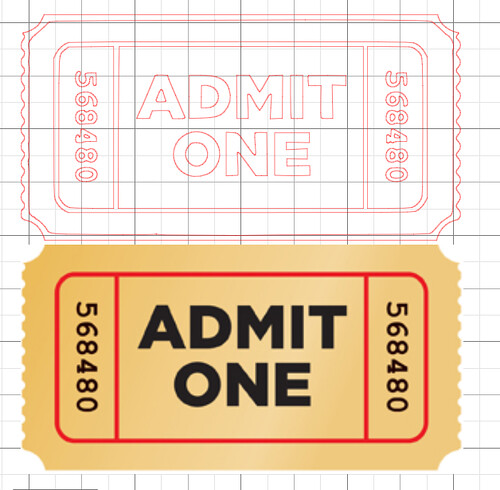
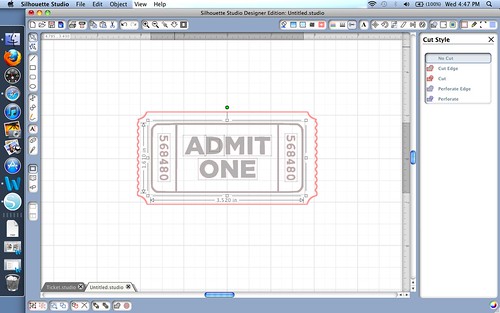
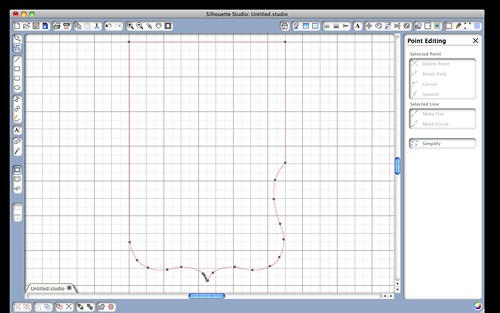
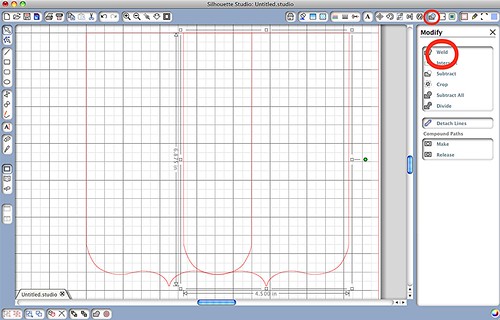
Highlight your text field and under the "Cut Style" section, choose "No Cut."
This will prevent your text from being cut out when you run your paper through the Silhouette.
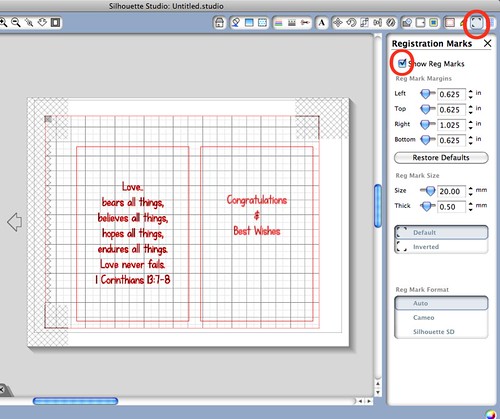
After you choose your paper size, open the "Registration Marks" section.
Click the "Show Reg Marks" box and the registration marks will appear.
Place your design so that it is not on top of the semi-blacked out/grid area.
If you place your design over this area, the Cameo may not be able to find the
registration marks.
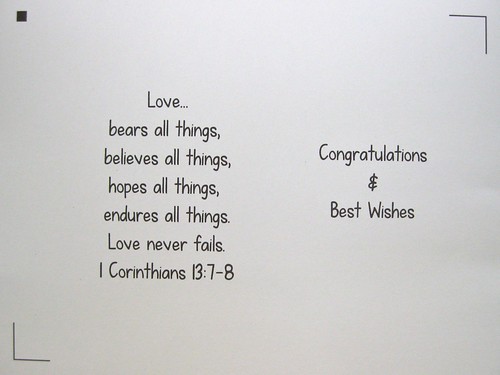
After all that is said and done, print the design on the card stock.
Here's what it looks like after it has run through the printer.
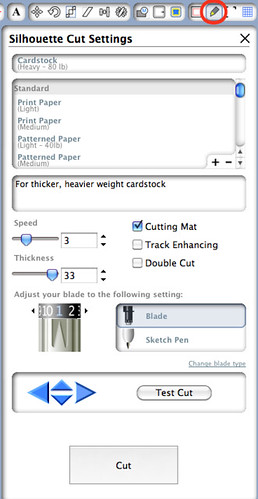
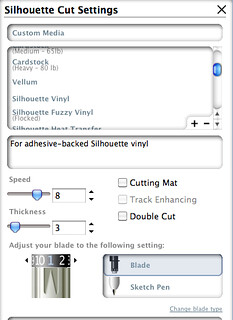
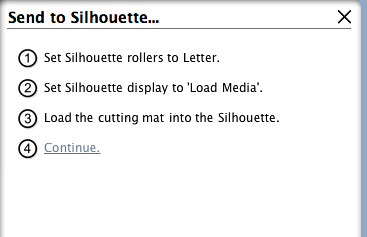
When using the registration marks, the cut settings do not show up when you click
on the "Send to Silhouette" button. Be sure and check that prior to cutting.
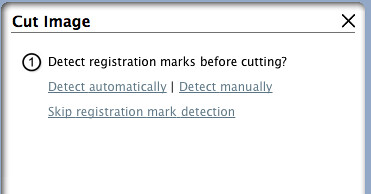
Next place the paper on the Cutting Mat
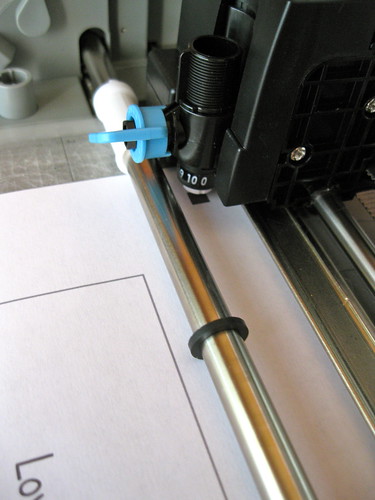
Choose to detect registration marks manually.
Position the blade over the black square mark on the silhouette (see below)
by using the arrows on the computer or the arrow buttons on the Cameo.
Now "Cut" away!
Smooth and perfect lines!
I know I could use a manual cutter for these simple straight lines...But that wouldn't be as much fun!
You can see the "tools" on my
Father's Day Card for another example of print and cut.
I outlined those in black prior to cutting.